Environment Preparation
The following procedures must be performed on all machines of the Big Data Cluster.
Firewall Deactivation
- Instructions
- Video
-
Disable the Firewall service:
Terminal inputsystemctl stop firewalld;
systemctl disable firewalld;warningIf it is not possible to deactivate the Firewall, create rules (iptables) to allow communication between machines on the ports used by the TDP Platform services.
SELinux Deactivation
- Instructions
- Video
-
Temporarily disable SELinux:
Terminal inputsetenforce 0; -
Permanently disable SELinux:
Terminal inputsed -i --follow-symlinks "s+SELINUX=enforcing+SELINUX=disabled+g" /etc/selinux/config; -
Restart the machine to apply the permanent SELinux deactivation.
Kernel Parameter Configuration
- Instructions
- Video
-
Minimize the use of the swap area:
Terminal inputecho 'vm.swappiness=1' >> /etc/sysctl.conf;
sysctl -p /etc/sysctl.conf;noteThe Linux kernel provides a tunable setting that controls how often the swap area on disk is used, called swappiness. A swappiness setting of zero means the disk will be avoided unless absolutely necessary (when the server runs out of memory), while a swappiness setting of 100 means programs will use the swap area almost instantly. Reducing the swappiness value reduces the likelihood of the Linux kernel sending an application's memory to the swap area. The swap area is extremely slower than memory because it uses disk instead of RAM. When the memory area of processes is transferred to disk, they may experience pauses, which can cause problems in services such as Apache Zookeeper.
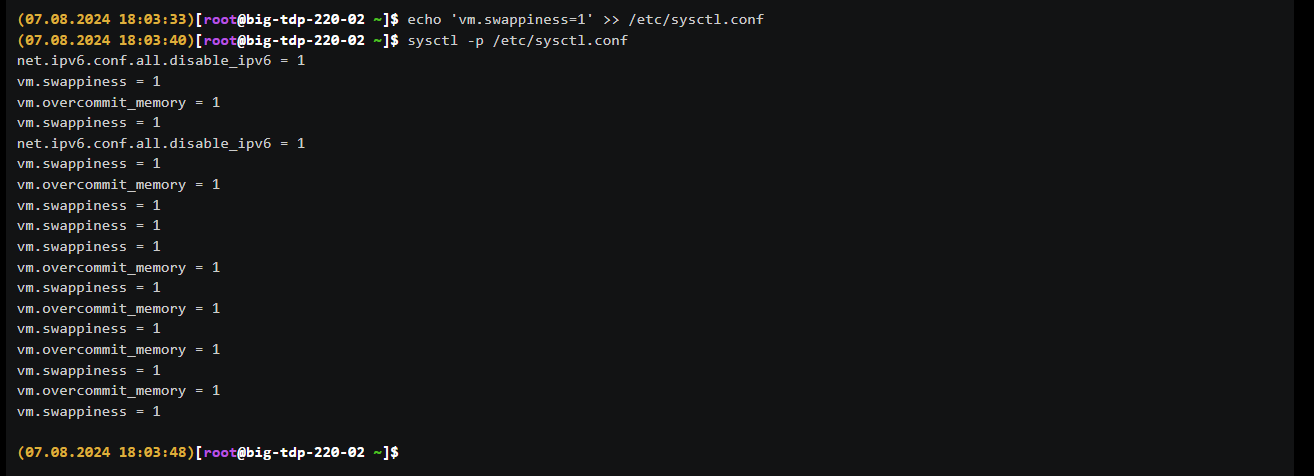 Figure 1 - Minimize swap
 -
Change the default RAM allocation behavior:
Terminal inputecho 'vm.overcommit_memory=1' >> /etc/sysctl.conf;
sysctl -p /etc/sysctl.conf;noteIn Big Data environments, where it is common to have machines with large amounts of RAM, we recommend the value 1 for the overcommit_memory setting. Unlike the value 0, which uses a heuristic approach to handle memory requests (malloc), the value 1 assumes that there is always enough physical memory, considerably increasing the performance of memory-intensive tasks.
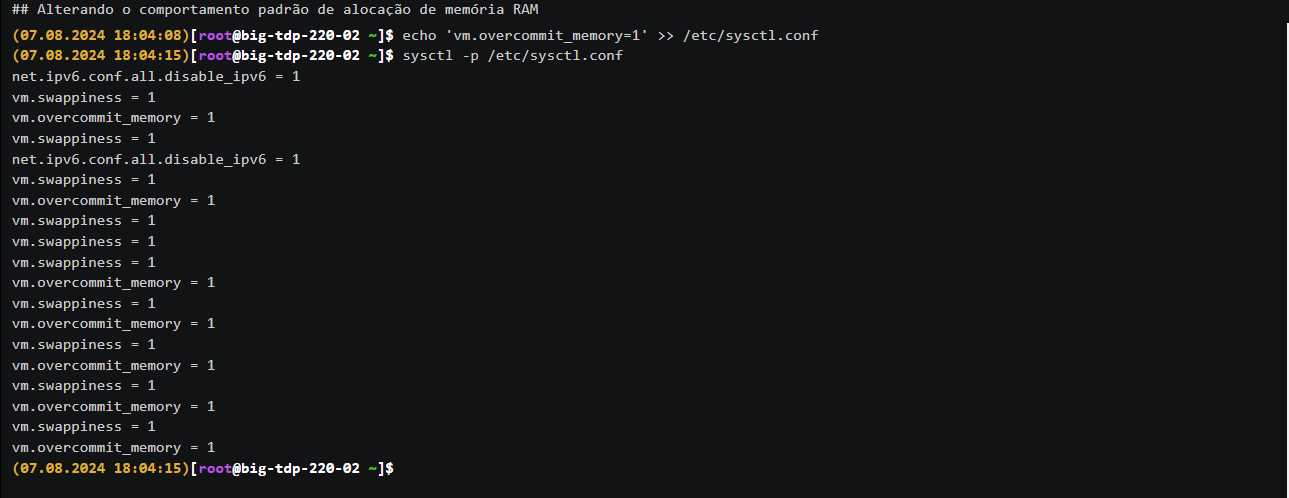 Figure 2 - Change default RAM
 -
Disable Transparent Huge Pages (THP):
Terminal inputecho never > /sys/kernel/mm/transparent_hugepage/enabled;
echo never > /sys/kernel/mm/transparent_hugepage/defrag;
echo "echo never > /sys/kernel/mm/transparent_hugepage/enabled" >> /etc/rc.local;
echo "echo never > /sys/kernel/mm/transparent_hugepage/defrag" >> /etc/rc.local;noteMany Linux distributions provide THP as a low-complexity option to increase the size of memory blocks/pages (from 4KB to 2MB or 1GB) and enable the management of many gigabytes, and even terabytes, of RAM. However, workloads in Big Data environments tend to perform poorly with THP enabled because they tend to have sparse memory access patterns, rather than contiguous ones, thus overloading the CPU.
 Figure 3 - Disable THP
Time Synchronization
- Instructions
- Video
-
Install a time synchronization service (NTP) to ensure that the date and time of the machines are always synchronized, preventing inconsistencies in data and services. In this example, we will use Chrony:
Terminal inputyum install chrony -y
systemctl enable chronyd
systemctl start chronyd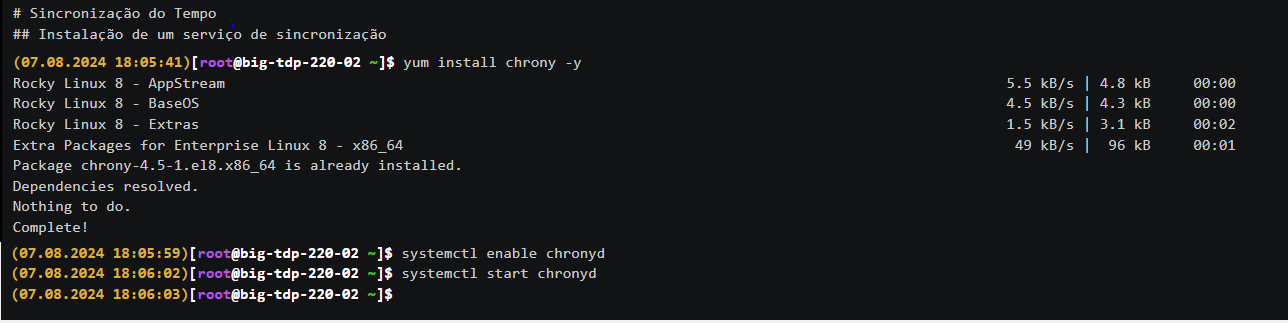 Figure 4 - Install time synchronization
 -
Configure Chrony to synchronize with appropriate NTP servers:
Terminal inputvi /etc/chrony.conf
# Add or adjust NTP servers as needed
server 0.centos.pool.ntp.org iburst
server 1.centos.pool.ntp.org iburst
server 2.centos.pool.ntp.org iburst
server 3.centos.pool.ntp.org iburstnoteTo save and exit the vi editor, press ESC, type :wq and press Enter.
-
Restart the service to apply the new settings:
Terminal inputsystemctl restart chronyd -
Check the synchronization status:
Terminal inputchronyc tracking
chronyc sources Figure 5 - Configure Chrony