Authorized User(s) Configuration via PgSmart Web
Identifies the database users authorized to connect through the Connection Pool (PgBouncer).
- Connection Pool installed, observing the minimum requirements .
- Instructions
- Add
- Edit
- Rename
- Remove
-
Select the desired
Environmentfrom the dropdown in the top bar. -
Select the
Pool de Conexõesoption in the sidebar.The registered pool components (PgBouncer) will be presented in the form of
cards. -
Select the
Usuáriostab. The list of registered users with their respective parameters will be displayed.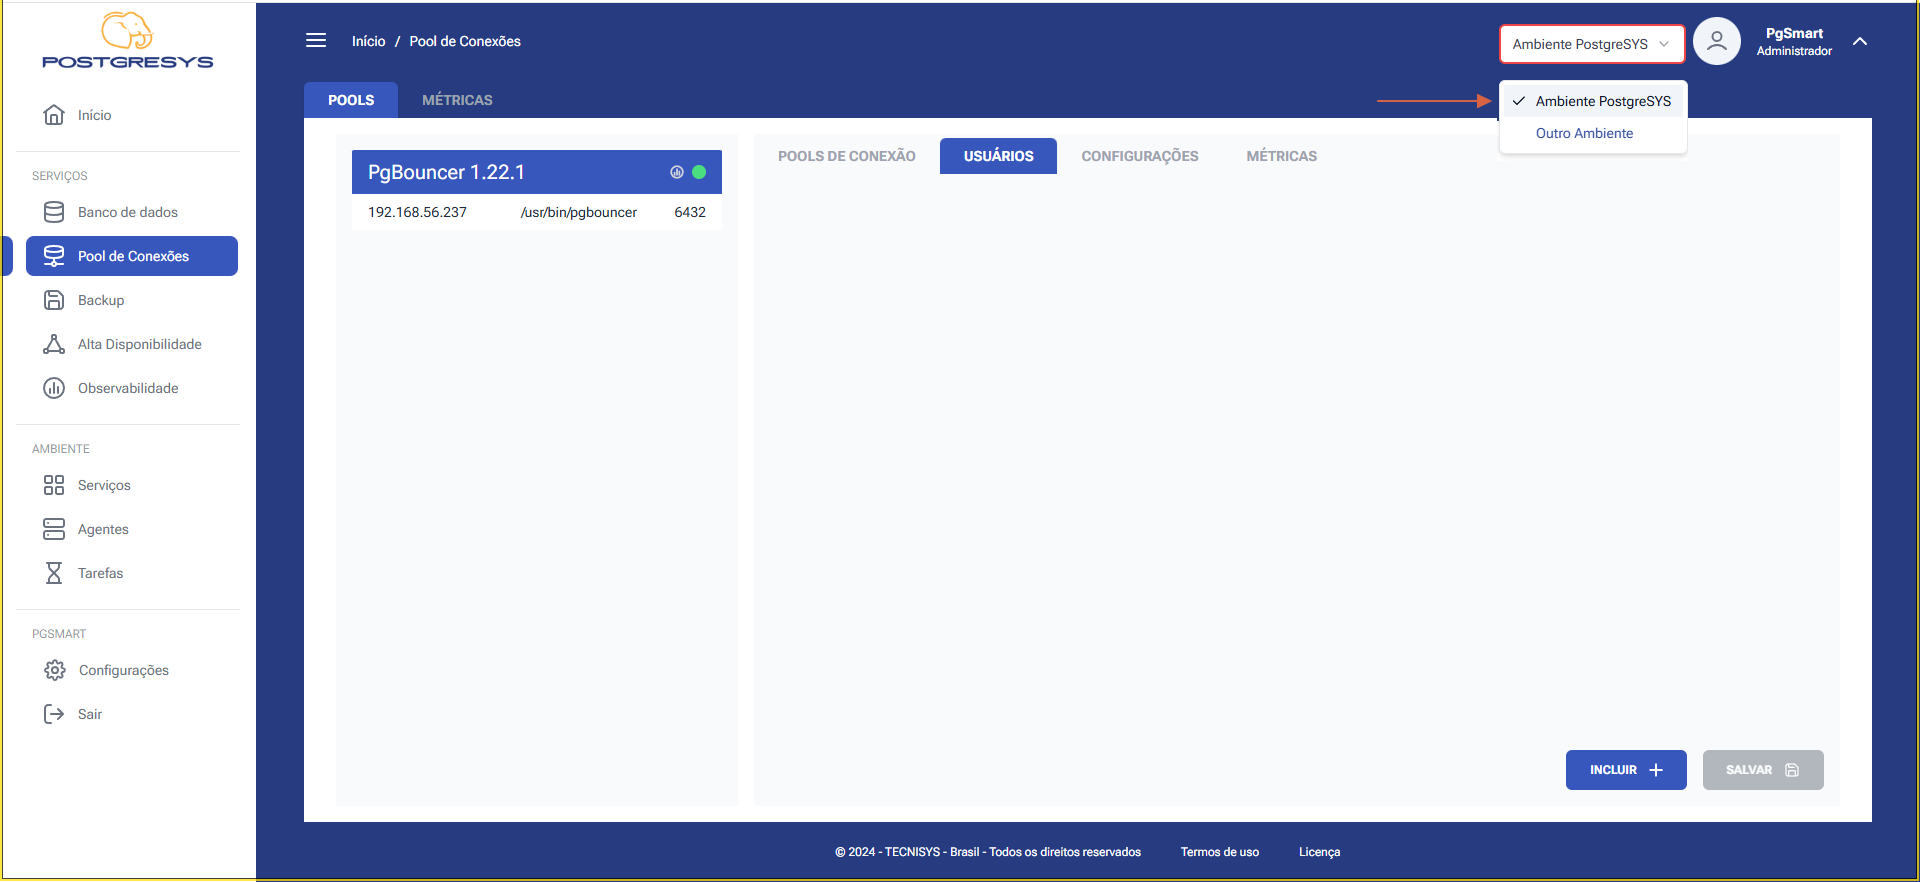 Figure 1 - Pool Users Configuration - List of Connection Pools
Insert a User
-
To
Inserta new Connection PoolUser: 1.1. ClickIncluir. 1.2. Enter theUsernameto be used by applications or clients to connect through the Connection Pool. 1.3. Enter thePassword. 1.4. Select theReuse Mode. 1.5. Enter the maximum number of connections. 1.6. ClickAdicionar. 1.7. Confirm the reload of the services. Figure 2 - Pool Users Configuration - Add Connection Pool - Select Option
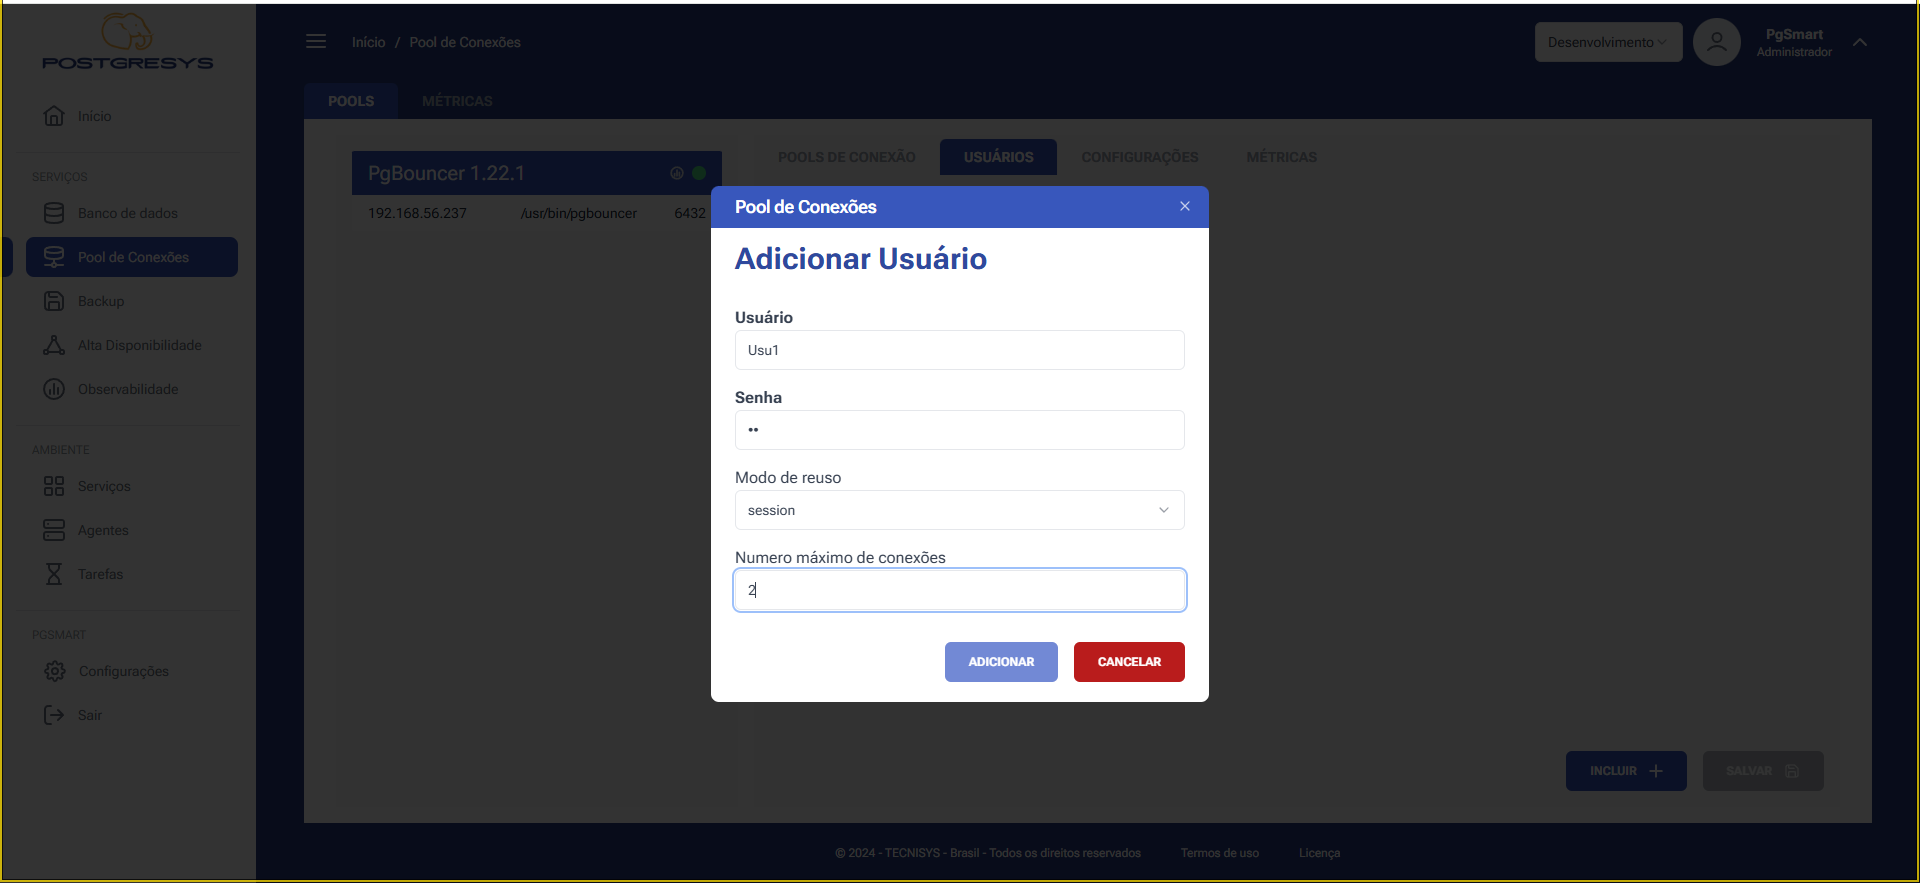 Figure 3 - Pool Users Configuration - Add Connection Pool - User Data
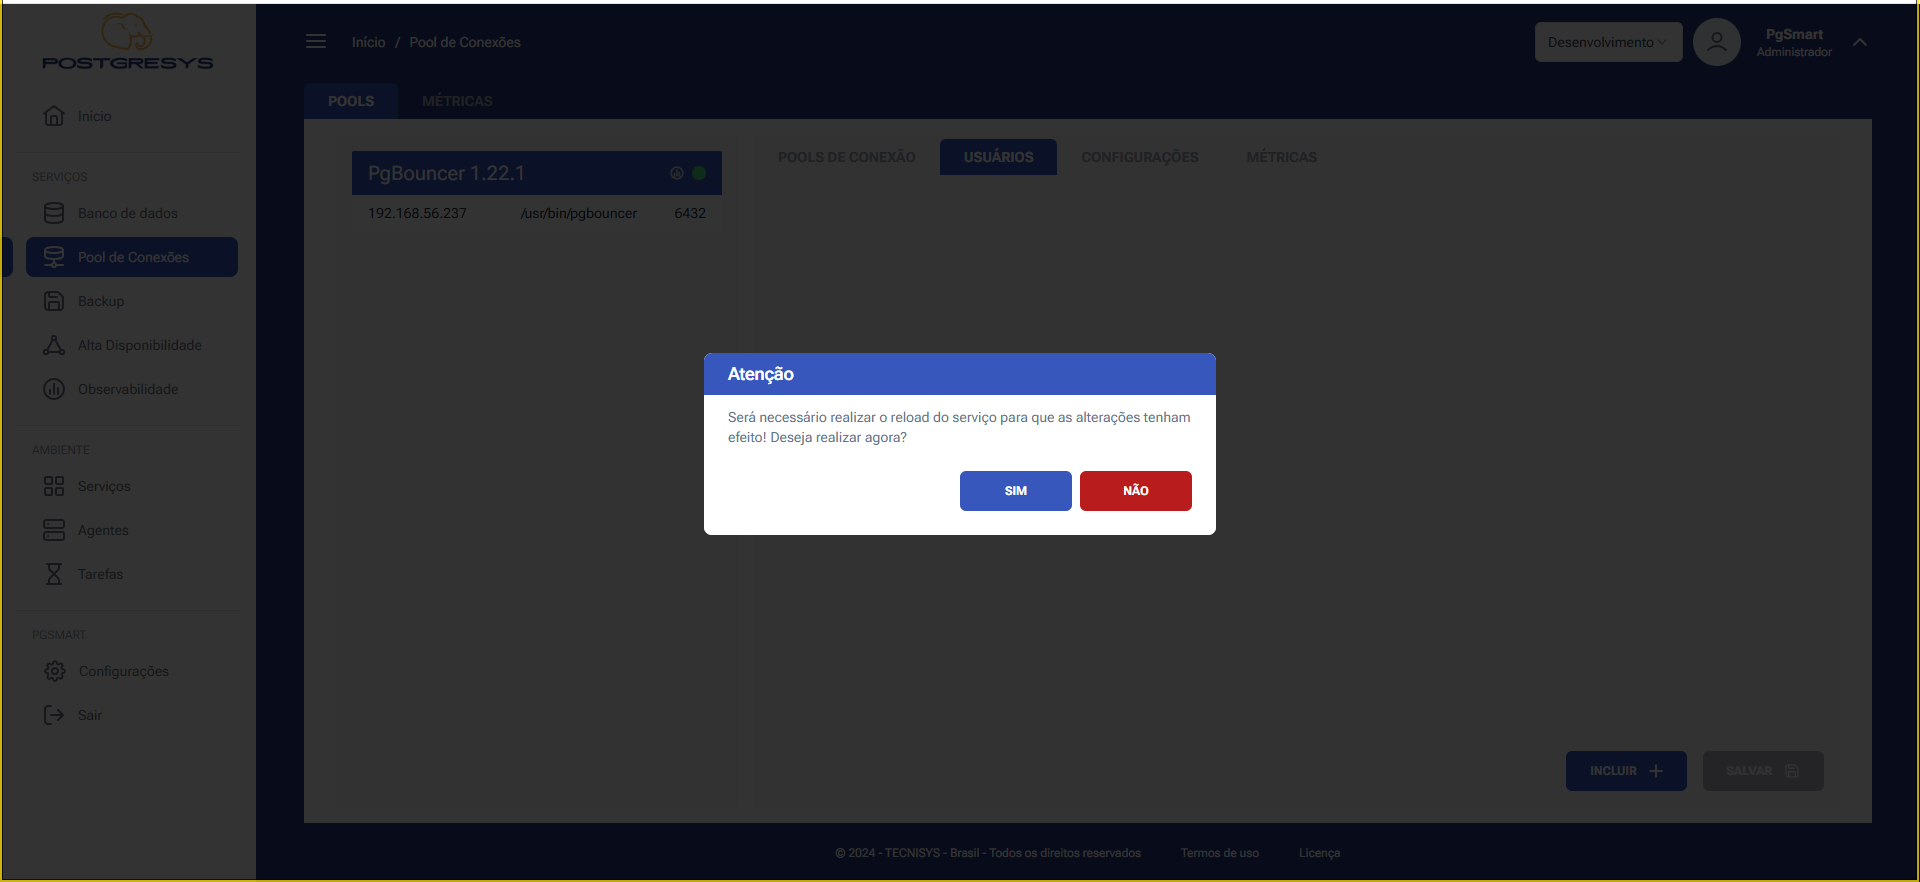 Figure 4 - Pool Users Configuration - Add Connection Pool - Reload Confirmation
Rename a User
-
To
Renamea Connection PoolUser: 1.1. Click the three dots (⋮) next to the Connection Pool user you want to edit. 1.2. SelectRenomear Usuário. 1.3. Edit the name as desired. 1.4. ClickConfirmar.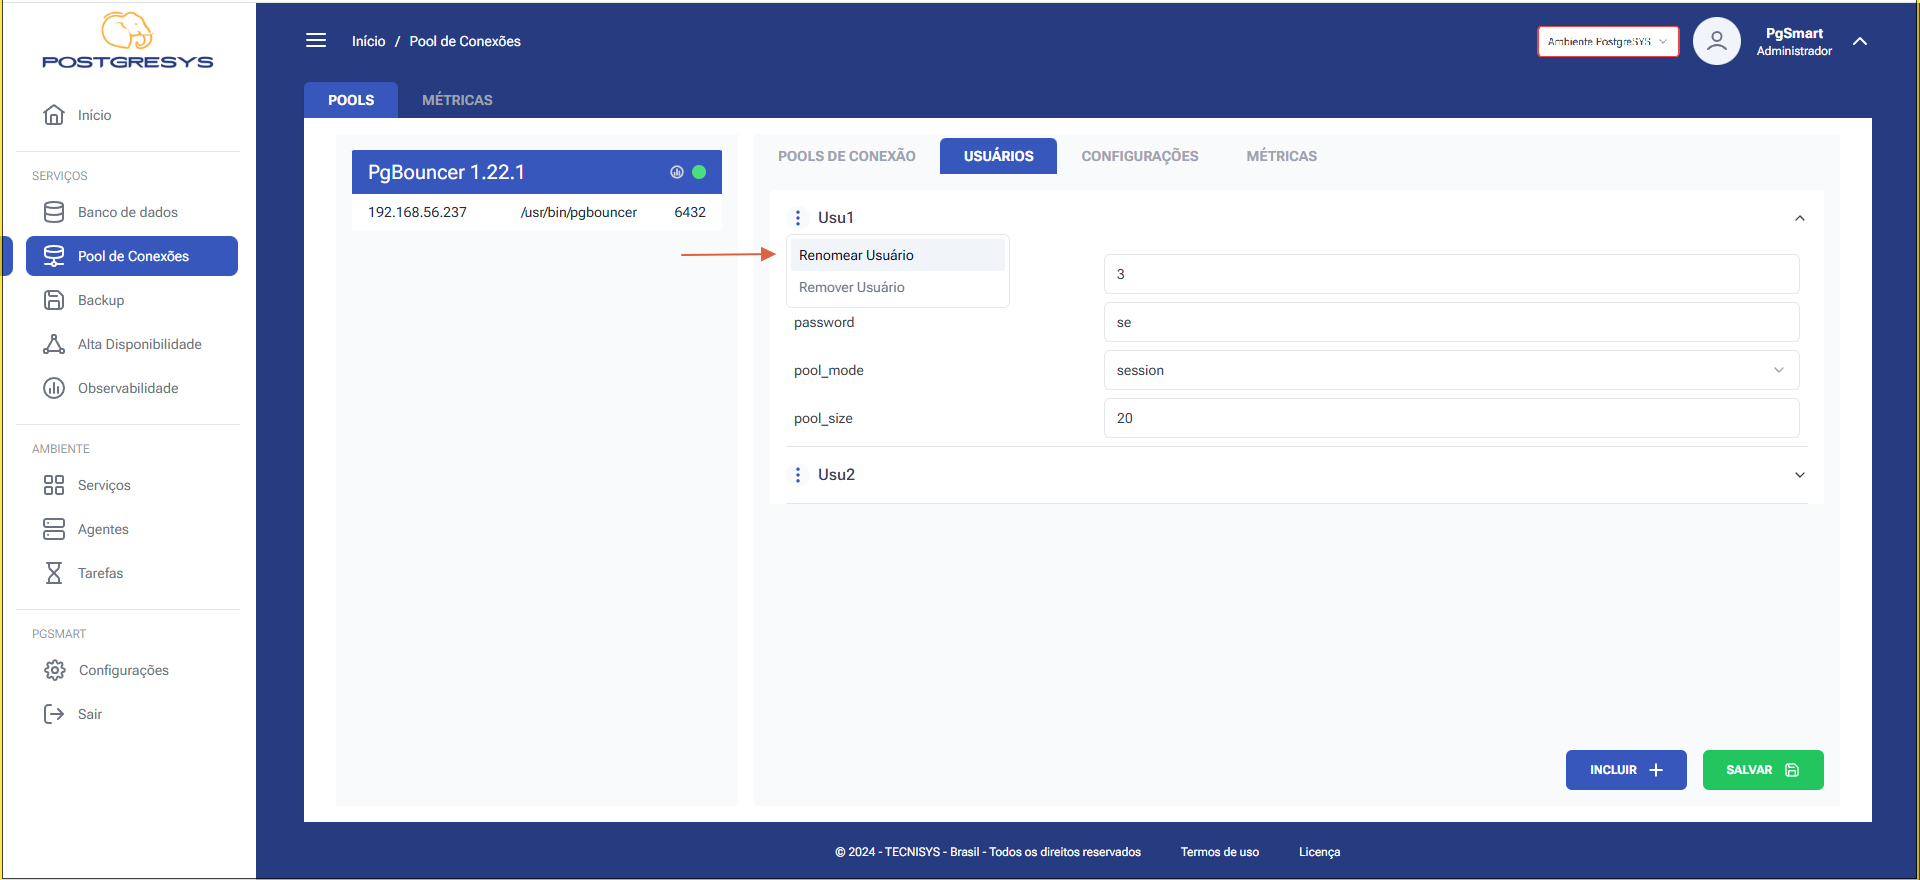 Figure 4 - Pool Users Configuration - Rename Connection Pool - Select Option
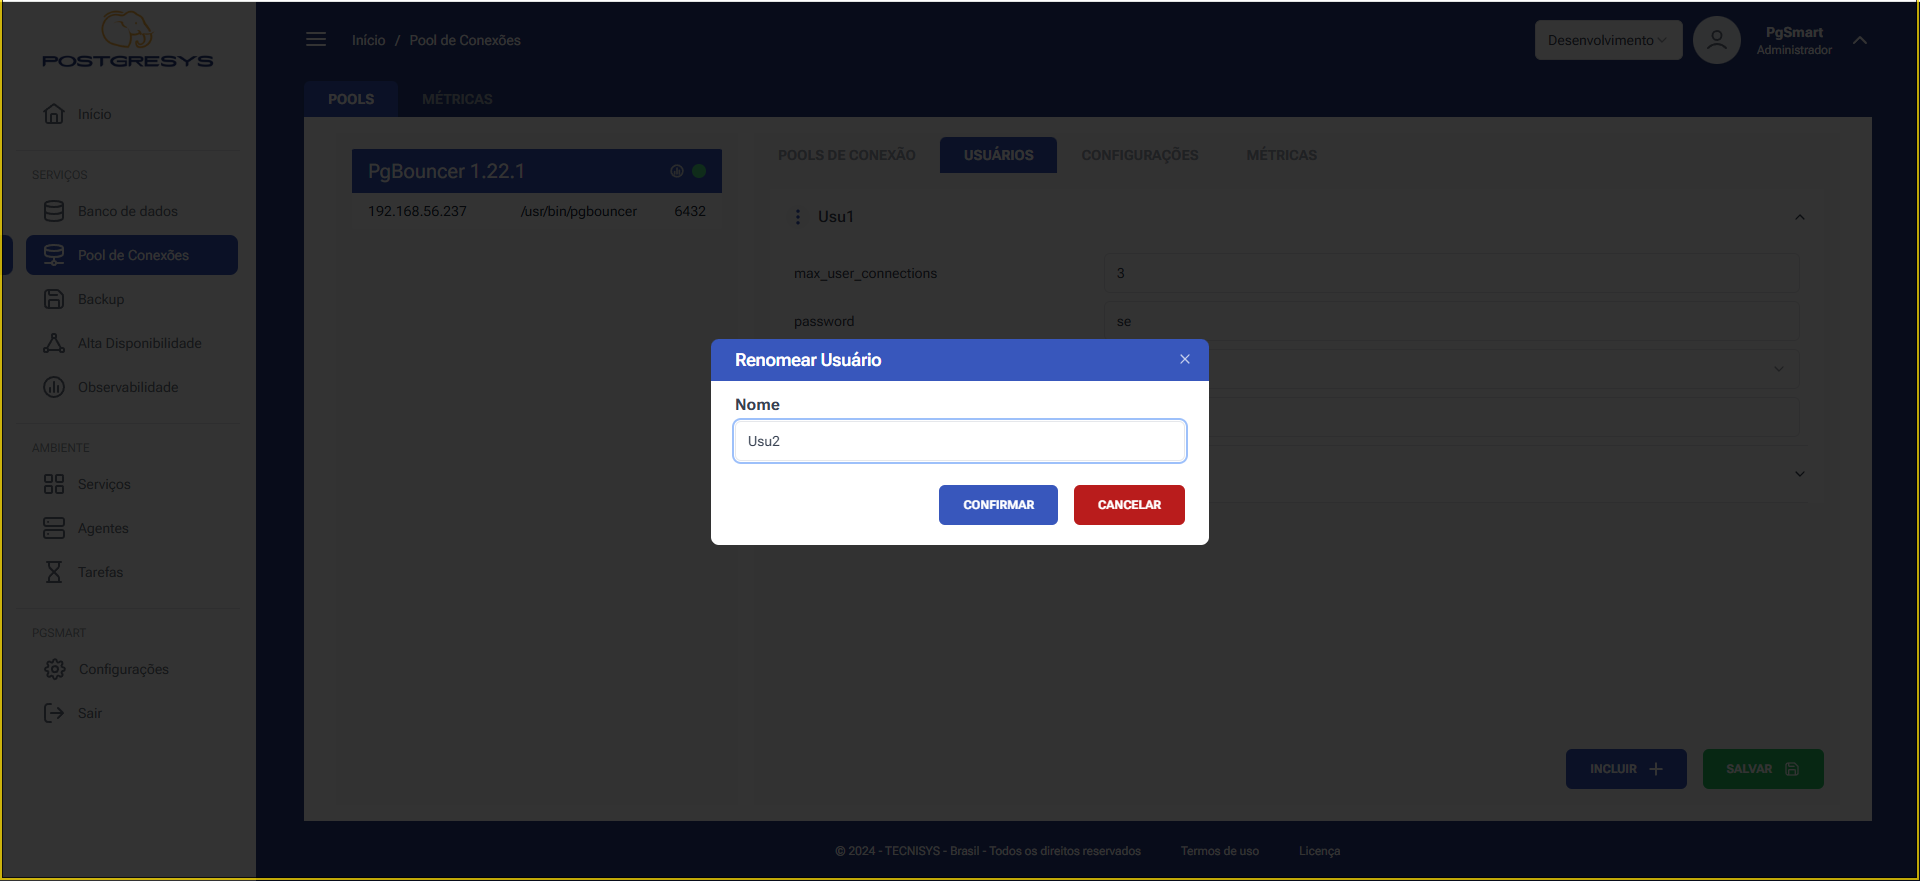 Figure 5 - Pool Users Configuration - Rename Connection Pool - User Edit
Edit a User
-
To
EditaUserparameter in the Connection Pool. 1.1. Expand the parameter list after selecting the desired poolUser. 1.2. Edit the desired parameter. 1.3. ClickSalvar. Figure 8 - Pool Users Configuration - Delete Connection Pool - Deletion Confirmation
Delete a User
-
To
DeleteaUserfrom the Connection Pool: 1.1. Click the three dots (⋮) next to the Connection PoolUseryou wish to delete. 1.2. SelectRemover Usuário. 1.3. Confirm the removal. Figure 6 - Pool Users Configuration - Delete Connection Pool - Select Option
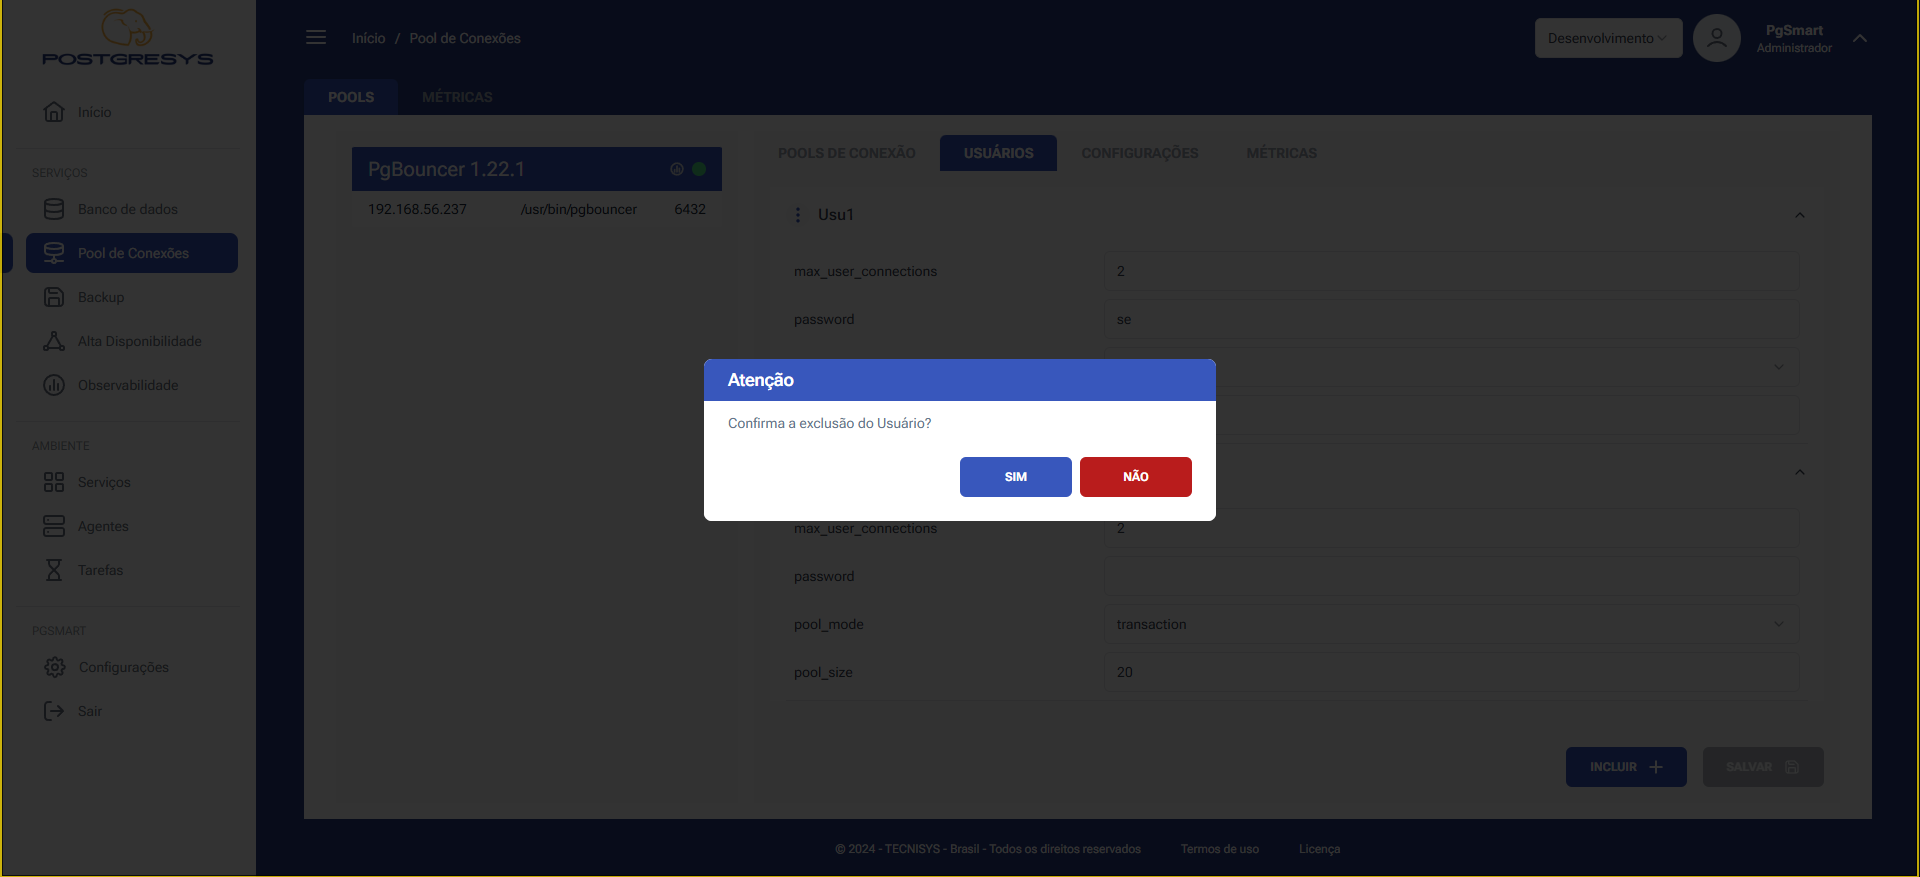 Figure 7 - Pool Users Configuration - Delete Connection Pool - User Deletion